Create Exception
The Create Exception option allows you to suppress a past or a future event that you consider non-malicious. It can be performed for an event listed in the Events tab or in the Alerts under the Detections tab.
To Create Exception hover the mouse on the required event or alert and from the Quick Actions menu, click Create Exception.
The following screenshot is an example of the Create Exception in the Alerts tab:
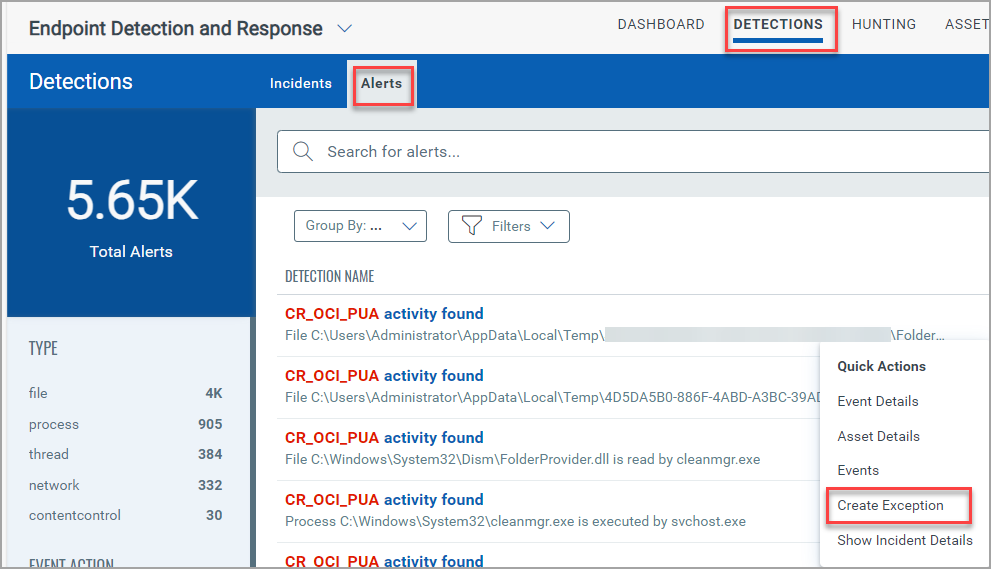
Incidents or Alerts will not be reported for the events that match with the exception rules, although its malicious events or any alerting rule is created for them.
Perform the following steps in the Hunting tab of Events to Create Exception for an event:
- Hover the mouse on the required event and click the drop-down icon
 .
. - From the Quick Actions menu, click Create Exception.

- In the Create Exception window, provide the inputs in the mandatory fields. Fields marked in red asterisk
 are mandatory.
 - The Reason field is categorized as follows:
- False Positive: Choose this option to reduce the indicator score associated with the event. If an event's score is 8 or greater, by default, the Reason chosen is False Positive. However, you can choose the Hide option.
- Risk Accepted: Choose this option to reduce the indicator score associated with the event. If an event's score is between 1 to 7, by default, the Reason chosen is Risk Accepted. However, you can choose the Hide option.
- Hide: If you do not want to change the False Positive or Risk Accepted score, you can choose this option to hide the event. Only the events from the Events tab will be moved to the Exempted Events tab.
The following screenshot is an example of the Basic Information section: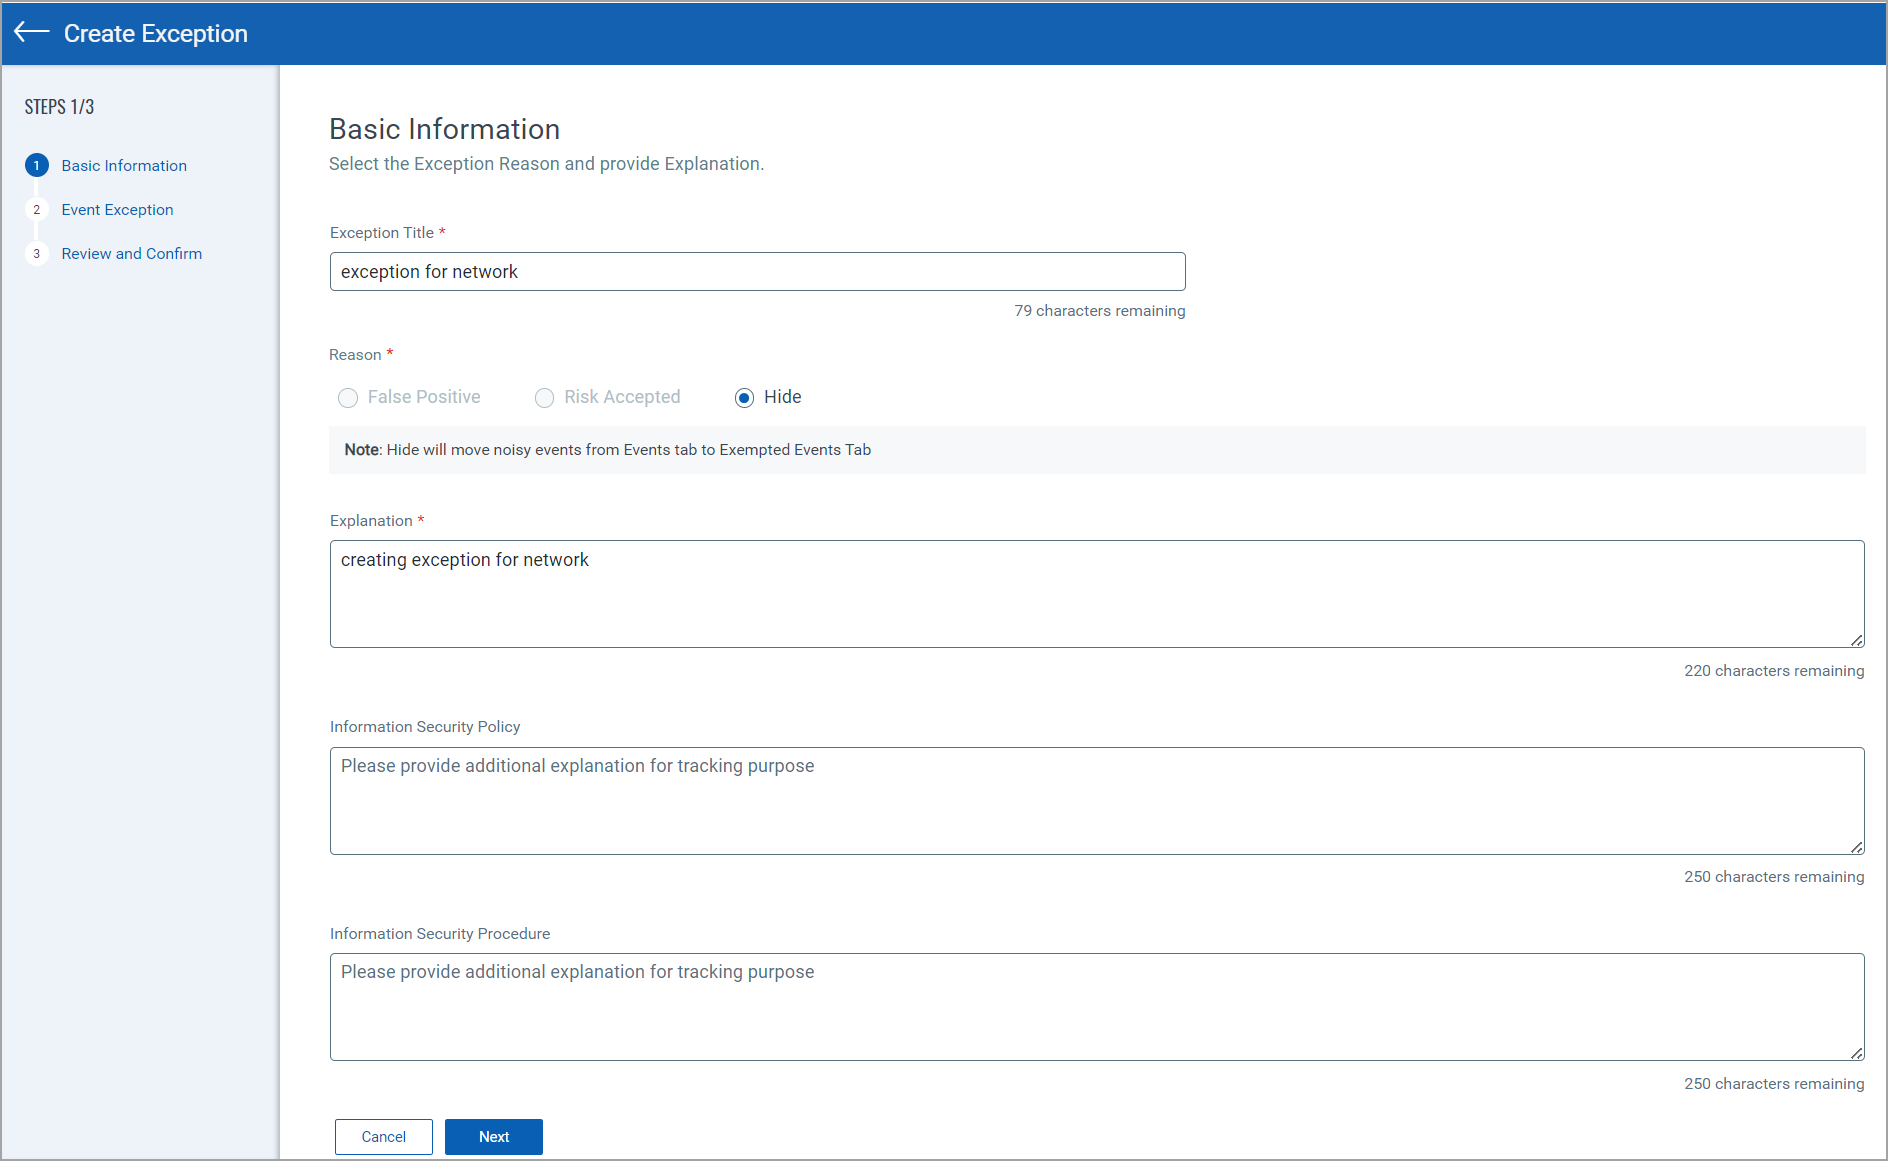
- Click Next.
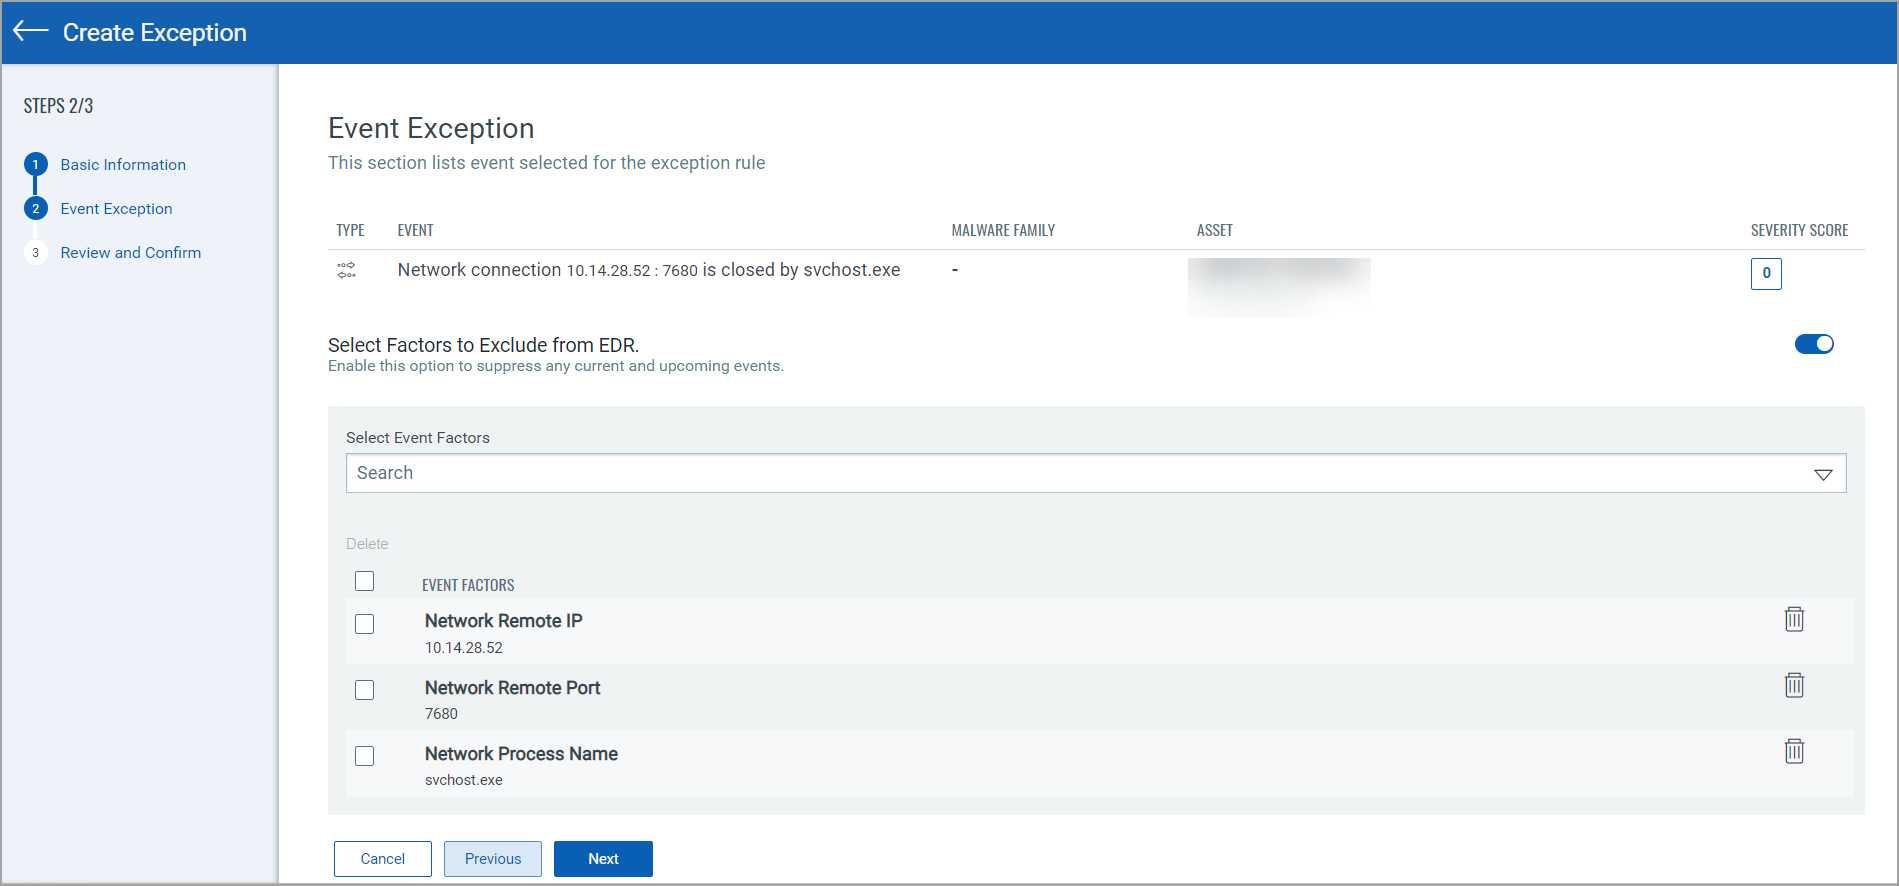
- The Event section describes the event for which an exception is created. Enable the toggle if you want the exception to be created for the future. Select the event factors from the Select Event Factors.
- To delete an event factor, select

In scenarios where an event with a score of 5 is suppressed, and if one of its future events has a score of 8, this event will not be suppressed and will be listed in the Events tab.
- Click Next.
- The Review and Confirm page displays the complete summary of the exception. Verify the event exception and click Save.

A notification at the window's top right corner confirms the exception has been successfully created.
To view the list of Exceptions created using the Create Exception, perform the following steps:
- Click the Configuration tab.
- Click the Exception Rules.
The following screenshot is an example of the Exception Rules tab:
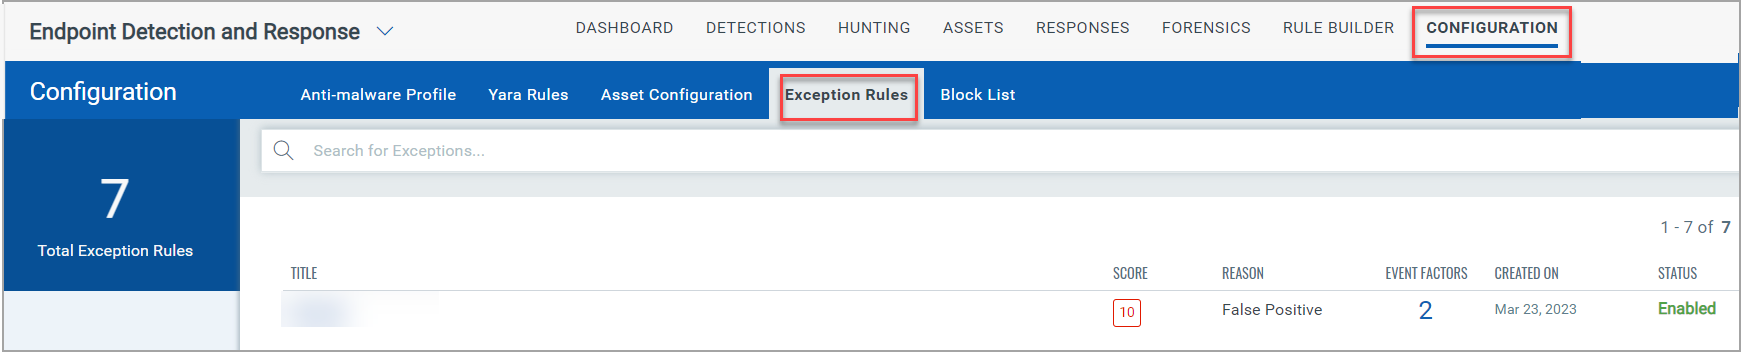
You can simplify the search using the Exception Rules Tokens in the Exception Rules tab.
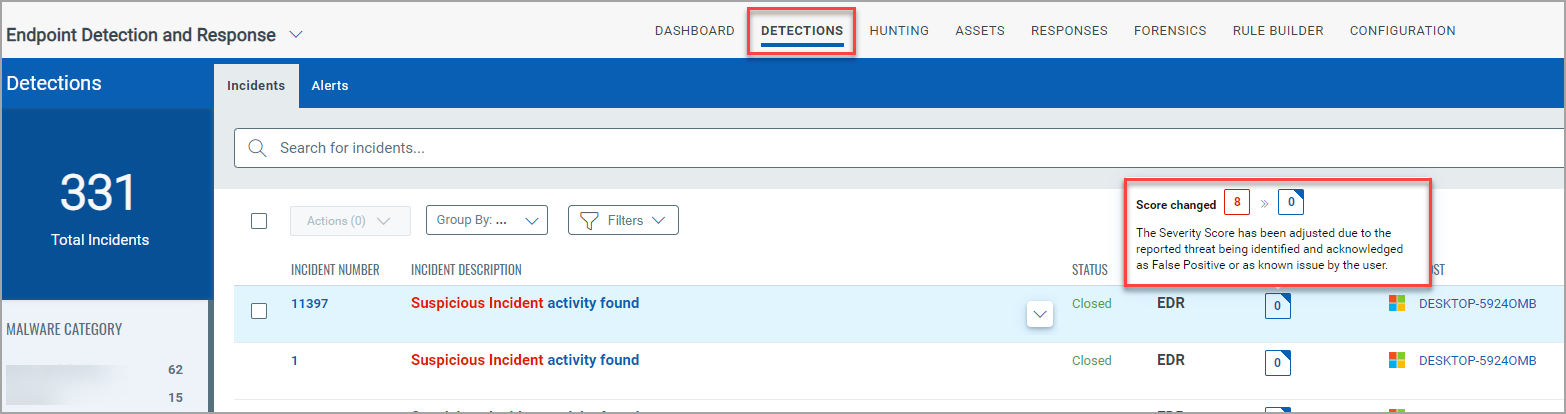
In the Detections tab, the Severity Score is changed if it is impacted by an Exception Rule. The following screenshot is an example that highlights the tool tip and the modified score:
The Create Exception functionality is currently supported only for EDR events/EDR Alerts and is not applicable to EPP events/EPP Alerts.